Setting up your scheduling
The "new scheduling experience" outlined here is not yet available to all users. Users who have signed up for MentorCal prior to March 2026 are encouraged to continue using it until further notice.
MentorCruise gives you full control over your calendar connections, conferencing tools, and scheduling rules – all from your mentor dashboard.
In this article
- Initial setup
- Connecting a conferencing tool
- Setting your working hours
- Configuring scheduling rules
- Good to know
- Troubleshooting
Initial setup
Getting started takes just two steps:
- Go to Settings > Integrations and connect your calendar and conferencing tool.
- Go to Settings > Availability, review your scheduling rules, and adjust them as needed.
That's it! once both are configured, your mentees will be able to book sessions based on your real-time availability.
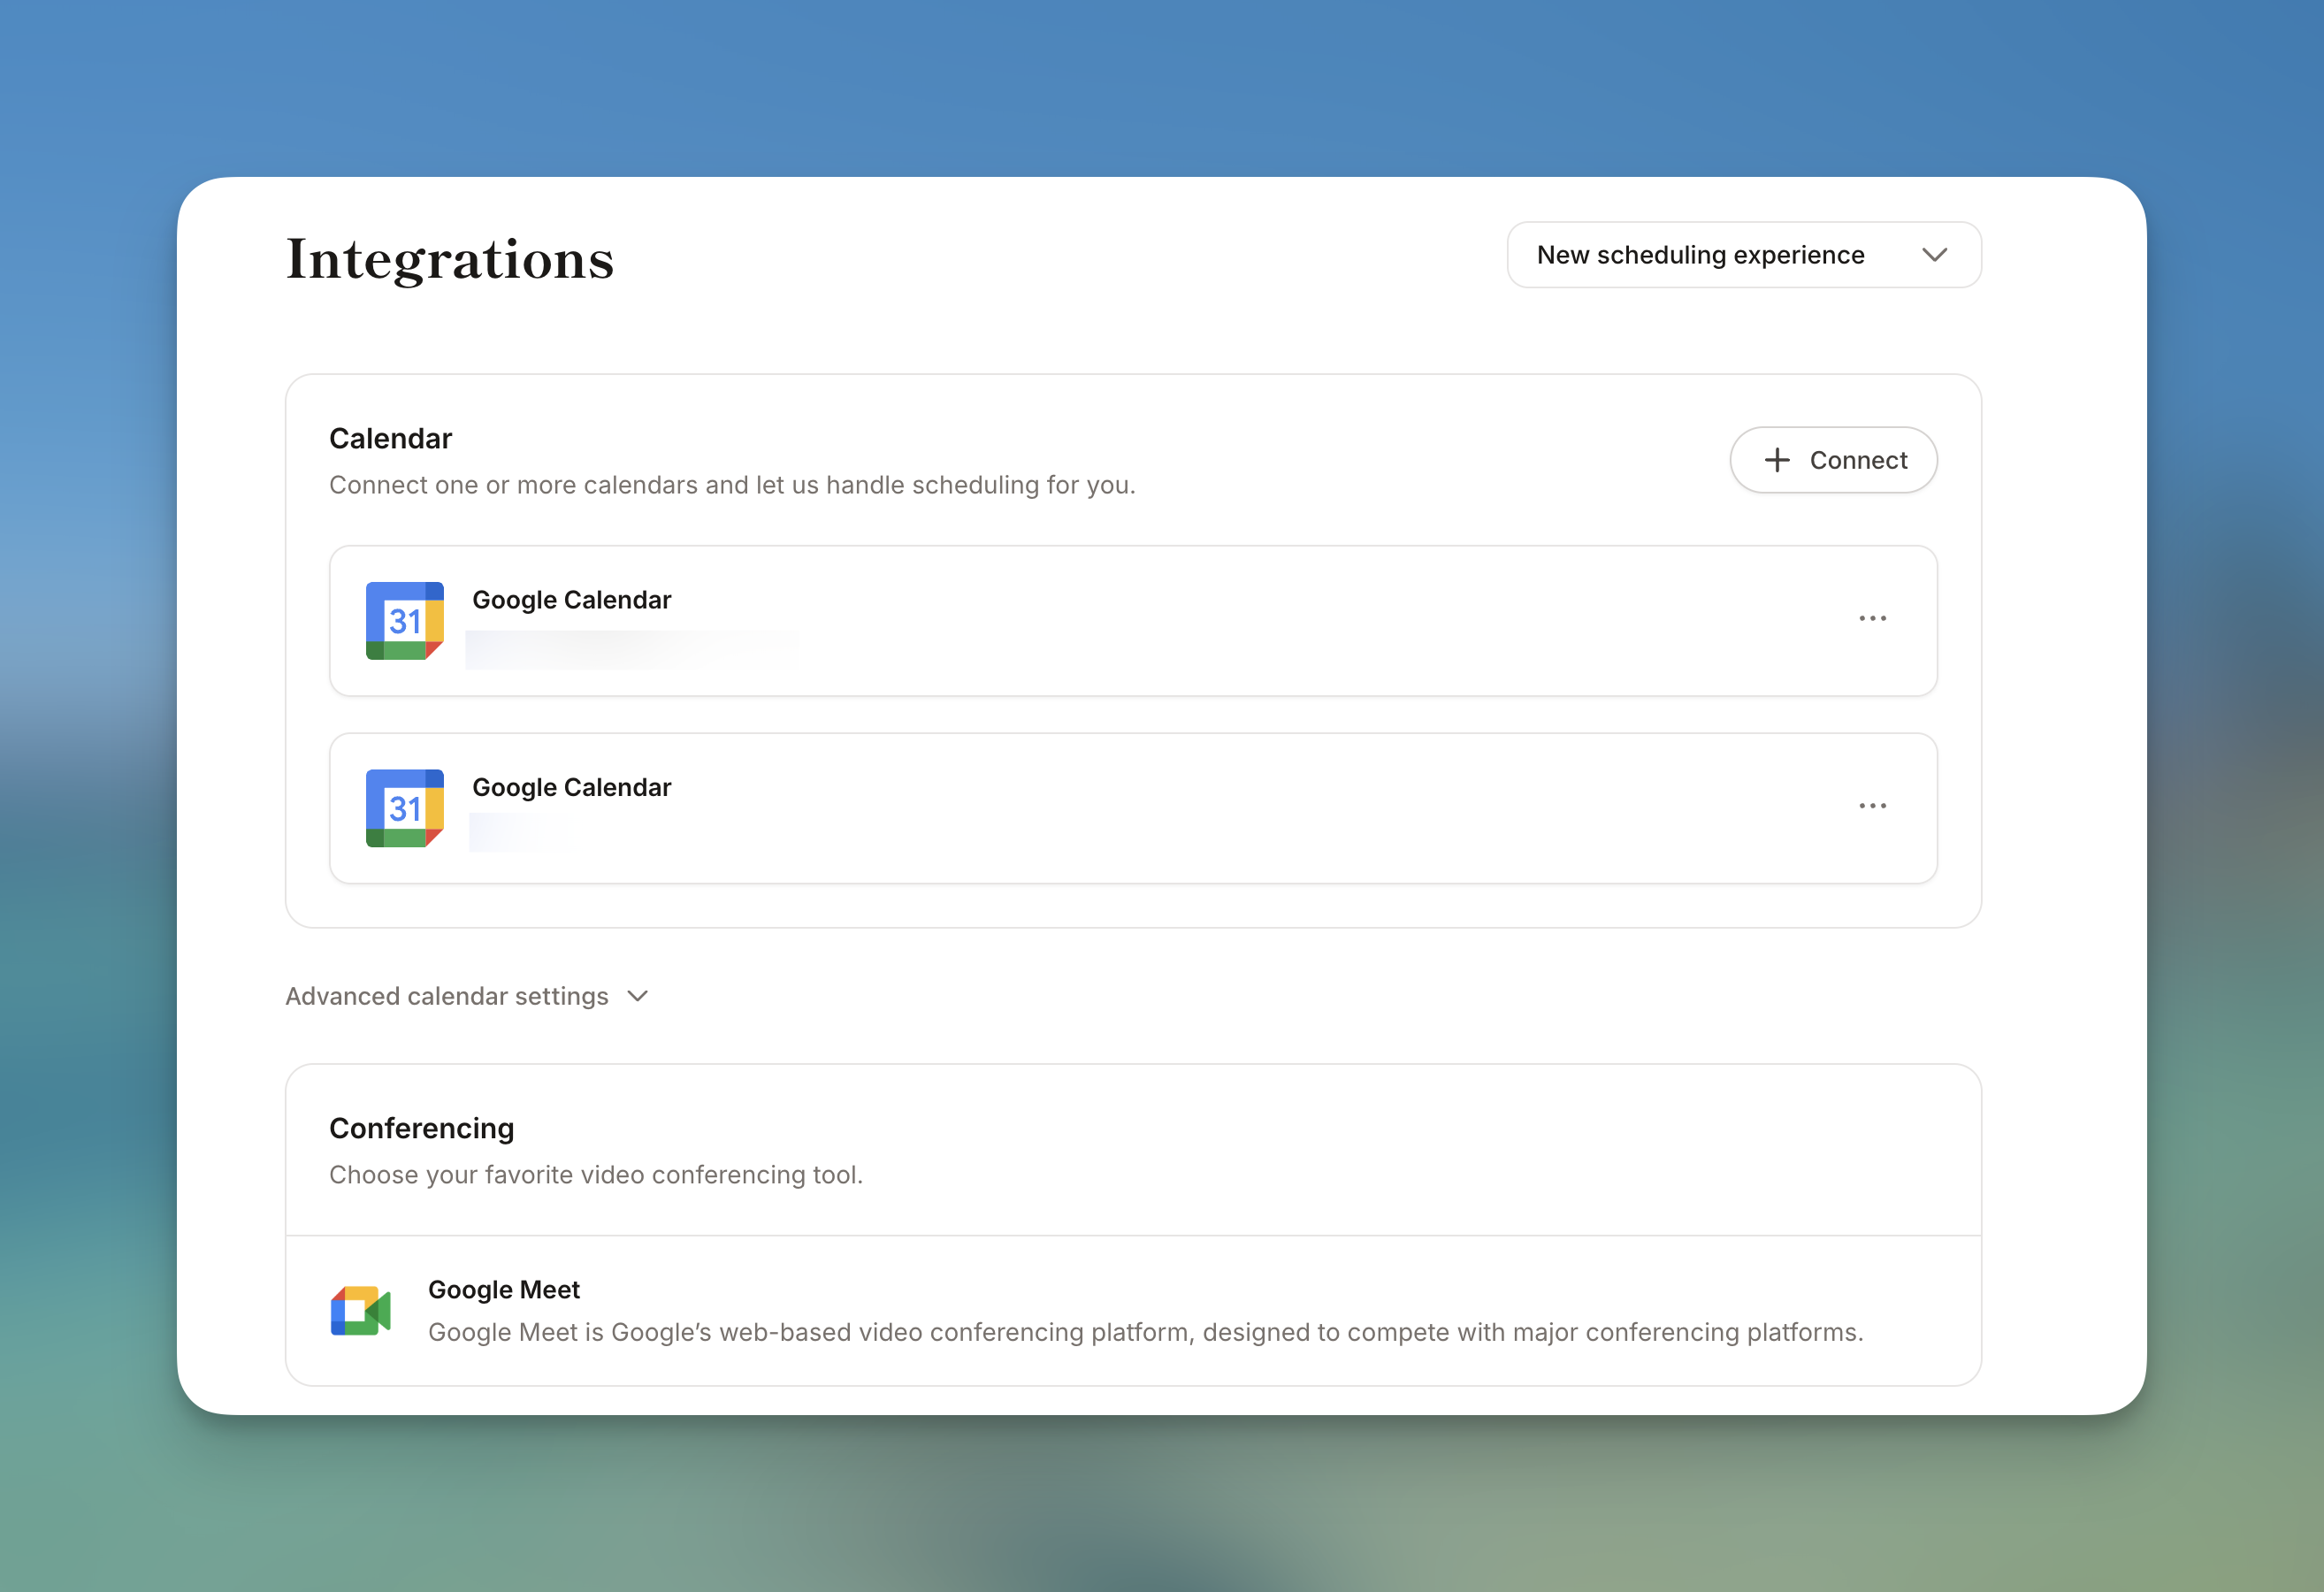
Connecting a conferencing tool
Your conferencing tool determines where your sessions take place (i.e., which video call link is generated for bookings).
- In the Conferencing card on the Integrations page, click Connect.
- Choose your preferred tool:
- Google Meet*
- Microsoft Teams**
- Zoom
- Authorize the connection when prompted.
Once connected, all new bookings will automatically include a meeting link from your chosen tool. Only one conferencing tool can be active at a time.
*When you connect Google Calendar, Google Meet is auto-connected as your conferencing tool. You cannot use Google Meet without a Google Calendar connection.
**Microsoft Teams requires a work or school account. Personal Microsoft accounts are not supported for Teams. If you see an error when connecting, verify that you're signing in with a Microsoft 365 work or school account.
Setting your working hours
Working hours define when mentees can book sessions with you.
- Go to Settings > Availability and select the Working hours tab.
- Choose your timezone from the dropdown.
- Pick a schedule preset or create your own:
- Standard hours – Monday to Friday, 9 AM to 6 PM.
- Evenings only – Monday to Friday, 5 PM to 8 PM.
- Custom schedule – Toggle individual days on/off and set one or more time slots per day.
- Click Save changes.
With a custom schedule, you can add multiple time slots per day (e.g., 9 AM–12 PM and 2 PM–5 PM) by clicking the + button next to an existing slot.
Configuring scheduling rules
Scheduling rules give you fine-grained control over how and when bookings can happen.
- Go to Settings > Availability and select the Scheduling rules tab.
- Configure the following options:
- Buffer before events – adds breathing room before each booking (0–120 minutes).
- Buffer after events – adds breathing room after each booking (0–120 minutes).
- Minimum notice – prevents last-minute bookings by requiring advance notice (e.g., 48 hours).
- Limit future bookings – stops mentees from booking too far ahead (minimum 7 days). You can choose between calendar days and business days.
- Click Save changes.
These rules are applied to all of your session types automatically.
Good to know
- ICS feeds are read-only. An ICS feed lets us read your availability to avoid conflicts, but bookings will not be written back to that calendar. Use a full Google or Outlook connection if you want two-way sync.
- Scheduling rules apply globally. When you update buffer times, minimum notice, or booking windows, the changes are applied to all of your session/event types in the background.
- You can connect multiple calendars. For example, connect both your Google and Outlook calendars so we check all of them for conflicts before offering a time slot.
Troubleshooting
Mentees say no time slots are available
- Check your working hours. Go to Availability > Working hours and make sure the correct days and times are enabled. If you use a custom schedule, verify that at least some days are toggled on.
- Check your timezone. If your timezone is set incorrectly, time slots may appear at unexpected times for you and your mentees.
- Check your calendar for conflicts. We won't offer time slots that overlap with existing events. If your calendar is packed, free up some time or expand your working hours.
- Check your scheduling rules. A very high minimum notice (e.g., 5 days) or a very short booking window (e.g., 7 days) can drastically reduce available slots. Try lowering the minimum notice or increasing the booking window.
- Check your mentorship limits. Go to Availability > Mentorship limits and make sure you haven't hit your session cap.
Calendar not syncing / events not appearing
- Disconnect and reconnect. Go to Integrations, disconnect the calendar via the three-dot menu, then connect it again.
- Check advanced settings. Make sure the correct destination calendar is selected under Advanced calendar settings > Add to calendar.
- Check sub-calendar toggles. Under Check for conflicts, ensure the relevant sub-calendars are toggled on.
"Could not connect Microsoft Teams" error
This error appears when you try to connect Teams with a personal Microsoft account. Microsoft Teams conferencing requires a Microsoft 365 work or school account. Sign in with your organization account instead.
Conferencing link not generated
- Make sure you have a conferencing tool connected under Integrations > Conferencing.
- If you're using Google Meet, ensure your Google Calendar is also connected (Google Meet requires it).
- Try disconnecting and reconnecting the conferencing tool.
Sessions booked at wrong times
- Double-check your timezone setting under Availability > Working hours. An incorrect timezone is the most common cause of bookings appearing at unexpected times.
Still need help? Reach out to us via the chat widget and we'll take a look.